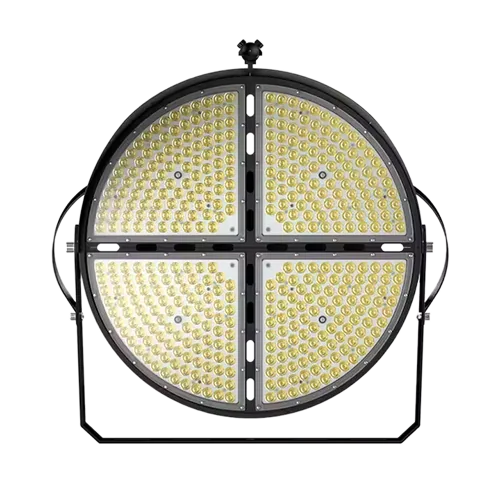
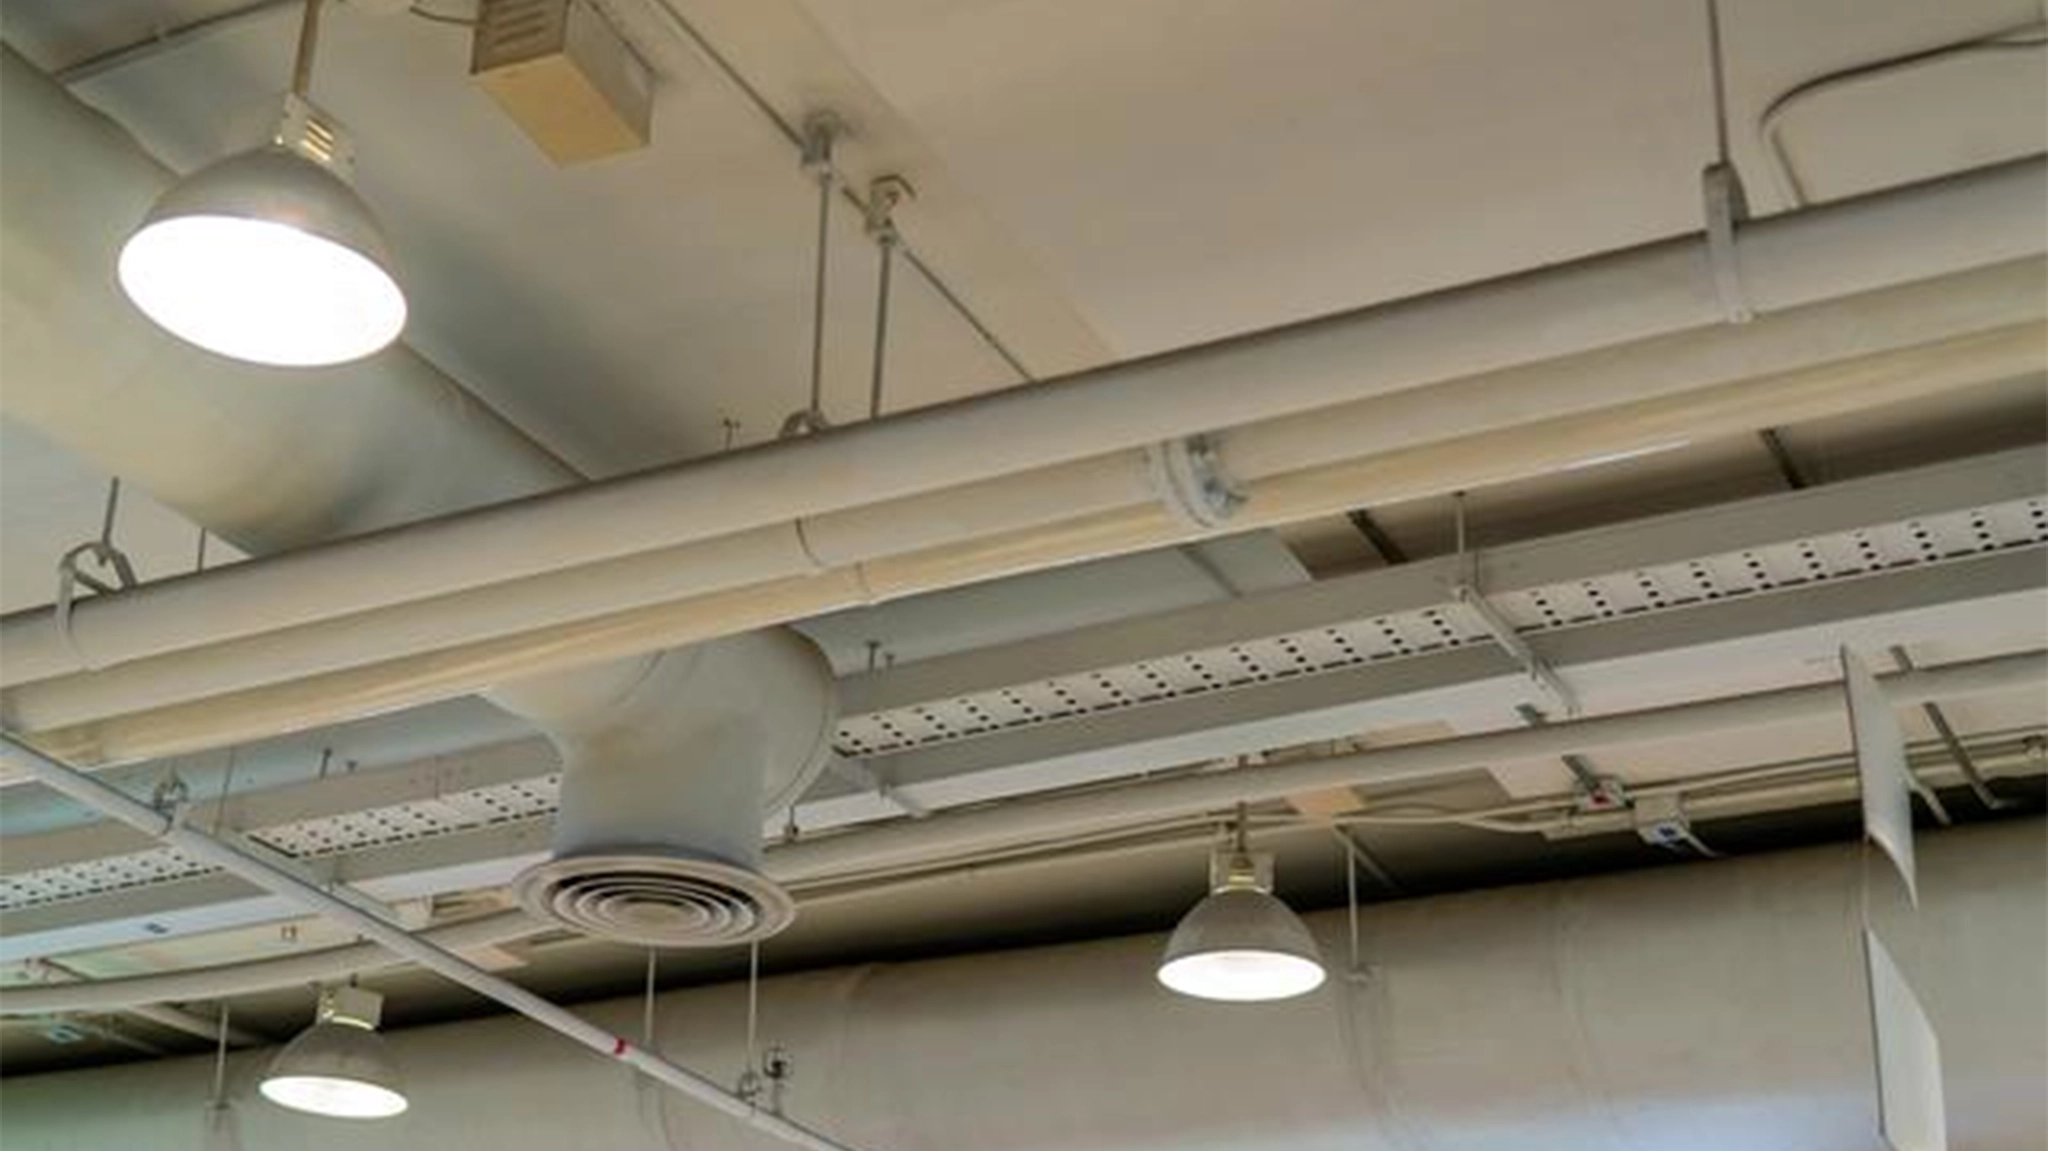
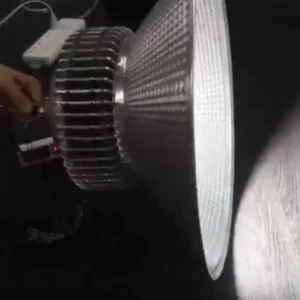
High bay lights are essential for illuminating large indoor spaces with high ceilings, such as warehouses, gyms, factories, and retail stores. Proper installation ensures optimal lighting performance, energy efficiency, and safety. If you’re planning to install high bay LED lights, follow this step-by-step guide to figure out how to install high bay lights.
Tools and Materials Needed
Before starting, gather the following:
-
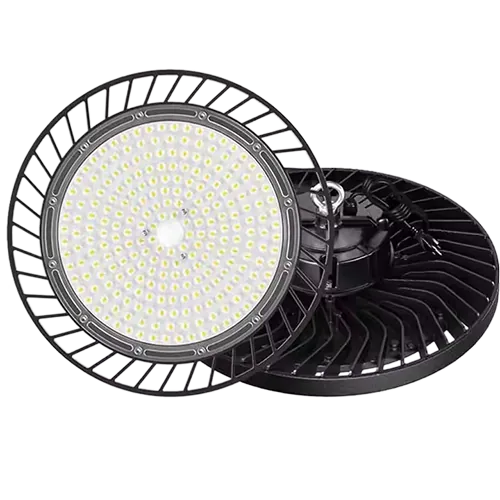
High bay LED light fixtures
-
Ladder or scaffolding (for high ceilings)
-
Screwdriver or drill
-
Wire strippers
-
Voltage tester
-
Electrical tape
-
Wire nuts
-
Mounting hardware (usually included with the fixture)
-
Safety gloves and goggles
Step 1: Turn Off the Power
Safety first! Before handling any electrical wiring, turn off the power at the main circuit breaker. Use a voltage tester to confirm that there is no electricity running to the wires.
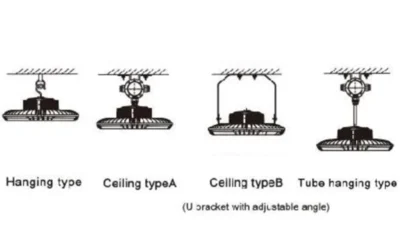
Step 2: Choose the Right Mounting Method
High bay lights can be installed in different ways, depending on the fixture type and ceiling structure:
A. Chain or Cable Mounting
-
Attach mounting hooks to the ceiling joists.
-
Hang the fixture using chains or steel cables.
-
Adjust the height as needed.
B. Direct Mounting (Surface or Recessed)
-
Secure the fixture directly to the ceiling using screws.
-
Ensure the mounting surface is sturdy enough to support the weight.
C. Pendant Mounting
-
Use a rigid conduit or hanging kit to suspend the fixture from the ceiling.
-
Ideal for areas where height adjustment is necessary.
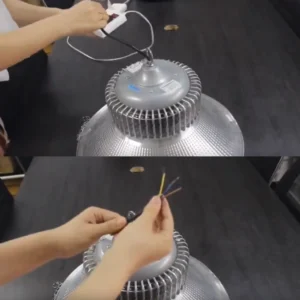
Step 3: Wiring the High Bay Light
-
Remove the Fixture Cover – Access the wiring compartment.
-
Connect the Wires – Match the wires from the fixture to the ceiling wires:
-
Black (Live/Hot) → Black
-
White (Neutral) → White
-
Green/Bare (Ground) → Green/Bare
-
-
Secure with Wire Nuts – Twist the wires together and cover them with wire nuts.
-
Tuck Wires Safely – Ensure no exposed wires remain.
-
Replace the Cover – Secure the fixture housing.
Step 4: Test the Light
-
Turn the power back on.
-
Switch on the light to ensure it works properly.
-
Check for flickering or loose connections if the light doesn’t turn on.
Step 5: Adjust and Secure the Fixture
-
Ensure the light is level and positioned correctly.
-
Tighten all screws and mounting hardware.
Safety Tips
✔ Always follow the manufacturer’s instructions.
✔ Use a stable ladder or scaffolding for high ceilings.
✔ Double-check wiring connections to prevent electrical hazards.
✔ Consider hiring a licensed electrician for complex installations.
Conclusion
Installing high bay LED lights is a straightforward process if you follow the right steps. Proper installation ensures bright, efficient lighting for your workspace while maintaining safety. If you’re unsure about any step, consulting our engineer is always a good idea.
Hualights pleasure to offer you any help!